what is it?
This is a tool to help with the computer vision software design or modelling. By using a graphical diagram editor that defines analysis flow, different algorithm combinations can be tried, with different parameter values, very quickly and with no coding.
Software is not in production state, although it is functional. Hopefully, I will continue developing it as I get time to do it.
Application is divided in two parts, the diagram editor and the diagram runner. Use diagram editor to edit diagrams, and runner to execute them.
The diagram editor, by now, is only available for windows (as it is written using c# and wcf).
The runner is developed using c++ multi-platform libraries and should run in linux, windows and mac.
See an example:
how to run
The diagram editor is like others editors. You can drop boxes that enclose algorithms from toolbox to diagram canvas, and then connect their outputs (at the right) from one box to another box inputs (at the left). When finished, a file can be saved. This file is an XML representation of the diagram which can be run with runner. At the bottom left corner a property window is displayed with the parameters of each box. Remember that any diagram must contain one box of type DummyBox which must be called “start_box”, which is where runner will send frames from input.
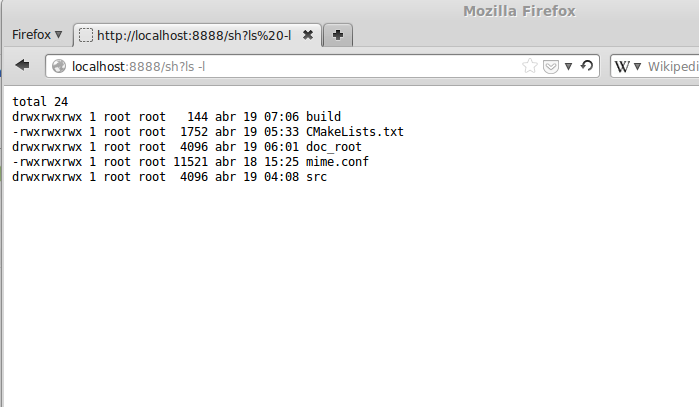
The runner is a command line application that can be run from a terminal application. It has three kind of inputs (vnc, camera and pictures) which will be connected to diagram startup box. For each type of input different parameters could be necessary (for example, ip and port for vnc, or device index for camera). Command line syntax is as follows:
1 2 3 4 | ./chain run vnc ./chain run camera (where 0 is default) ./chain run pics ./chain save_box_config |
When a diagram is run, a monitor window could be presented showing input frames. Several intermediate or output windows could be also showed depending on the diagram, one for each WindowBox. To stop it, you can press Esc over any window (or simply Ctrl-c in the command line terminal).
Some basic boxes are:
| BoxConvertColorSpace | converts an image from one color type to another. for example BGR to GRAY. Parameter is an integer for the type of conversion (see cvtColor) |
| BoxMask | makes a copy of input on output but masking it using the mask |
| BoxTee | connects the input to 4 outputs |
| DummyBox | it’s the starting box. Must be called “start_box” |
| DummyBox | Displays input in a window |
| BoxThread | Runs all the tree conected to its output in a different thread. (be careful!) |
| BoxDrawContours | Makes a copy of input image to output and draws contours onto it. |
Some algorithms are:
| BoxWatershedSegmenter | Watershed segmentation algorithm |
| BoxMedianBlur | Median blur ksize – aperture linear size; it must be odd and greater than 1, for example: 3, 5, 7 |
| BoxGraphSegmentation | Graph segmentation algorithm sigma – see http://cs.brown.edu/~pff/papers/seg-ijcv.pdf min_area – min pixels for a segment to be detected threshold – see http://cs.brown.edu/~pff/papers/seg-ijcv.pdf |
| BoxCanny | Canny segmentation algorithm |
| BoxBackgroudSegm | Background segmentation algorithms |
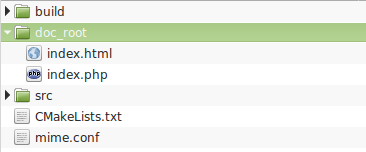
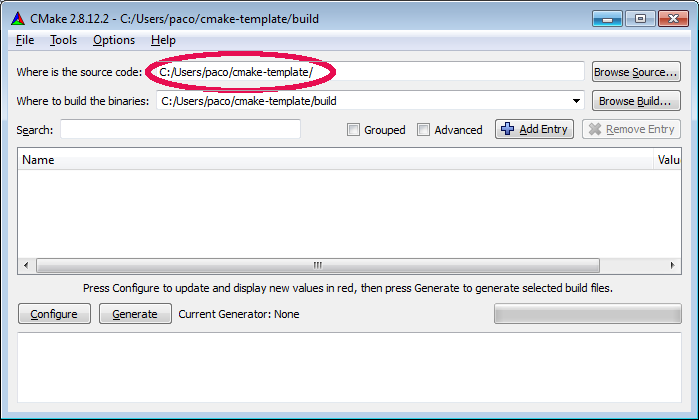
how to compile
Cmake files are available to compile on linux and windows.
Prerequisites are:
boost (http://www.boost.org/)
opencv (http://opencv.org/)
bgslibrary for background segmentation (https://github.com/andrewssobral/bgslibrary)
graph segmentation code from Pedro F. Felzenszwalb and Daniel P. Huttenlocher (http://cs.brown.edu/~pff/segment/)
pugixml (http://pugixml.org/)
(most of them are included in source tree)
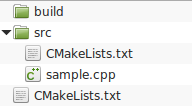
compile in linux
1 2 3 4 | $ mkdir -p build/debug $ cd build/debug/ $ cmake ../.. -DCMAKE_BUILD_TYPE=Debug $ make |
other examples
download
Download code from here.